How to Fix Outdoor Lights: A Simple Guide to Outdoor Light Fixture Repair
Outdoor lighting is an important part of your home’s exterior, providing both functional and aesthetic benefits. However, over time, your outdoor lights might stop working due to various issues. Whether it’s a faulty bulb, electrical problem, or damage to the fixture itself, most problems with outdoor lighting can be fixed with some basic troubleshooting. If you're a beginner, don’t worry! This guide will walk you through the simple steps to repair outdoor lights and keep them shining brightly.
1. Start with the Basics: Check the Bulbs
Before diving into more complex fixes, the first thing you should check is the light bulb. Sometimes, outdoor lights simply stop working because the bulb has burned out. Here's how to check:
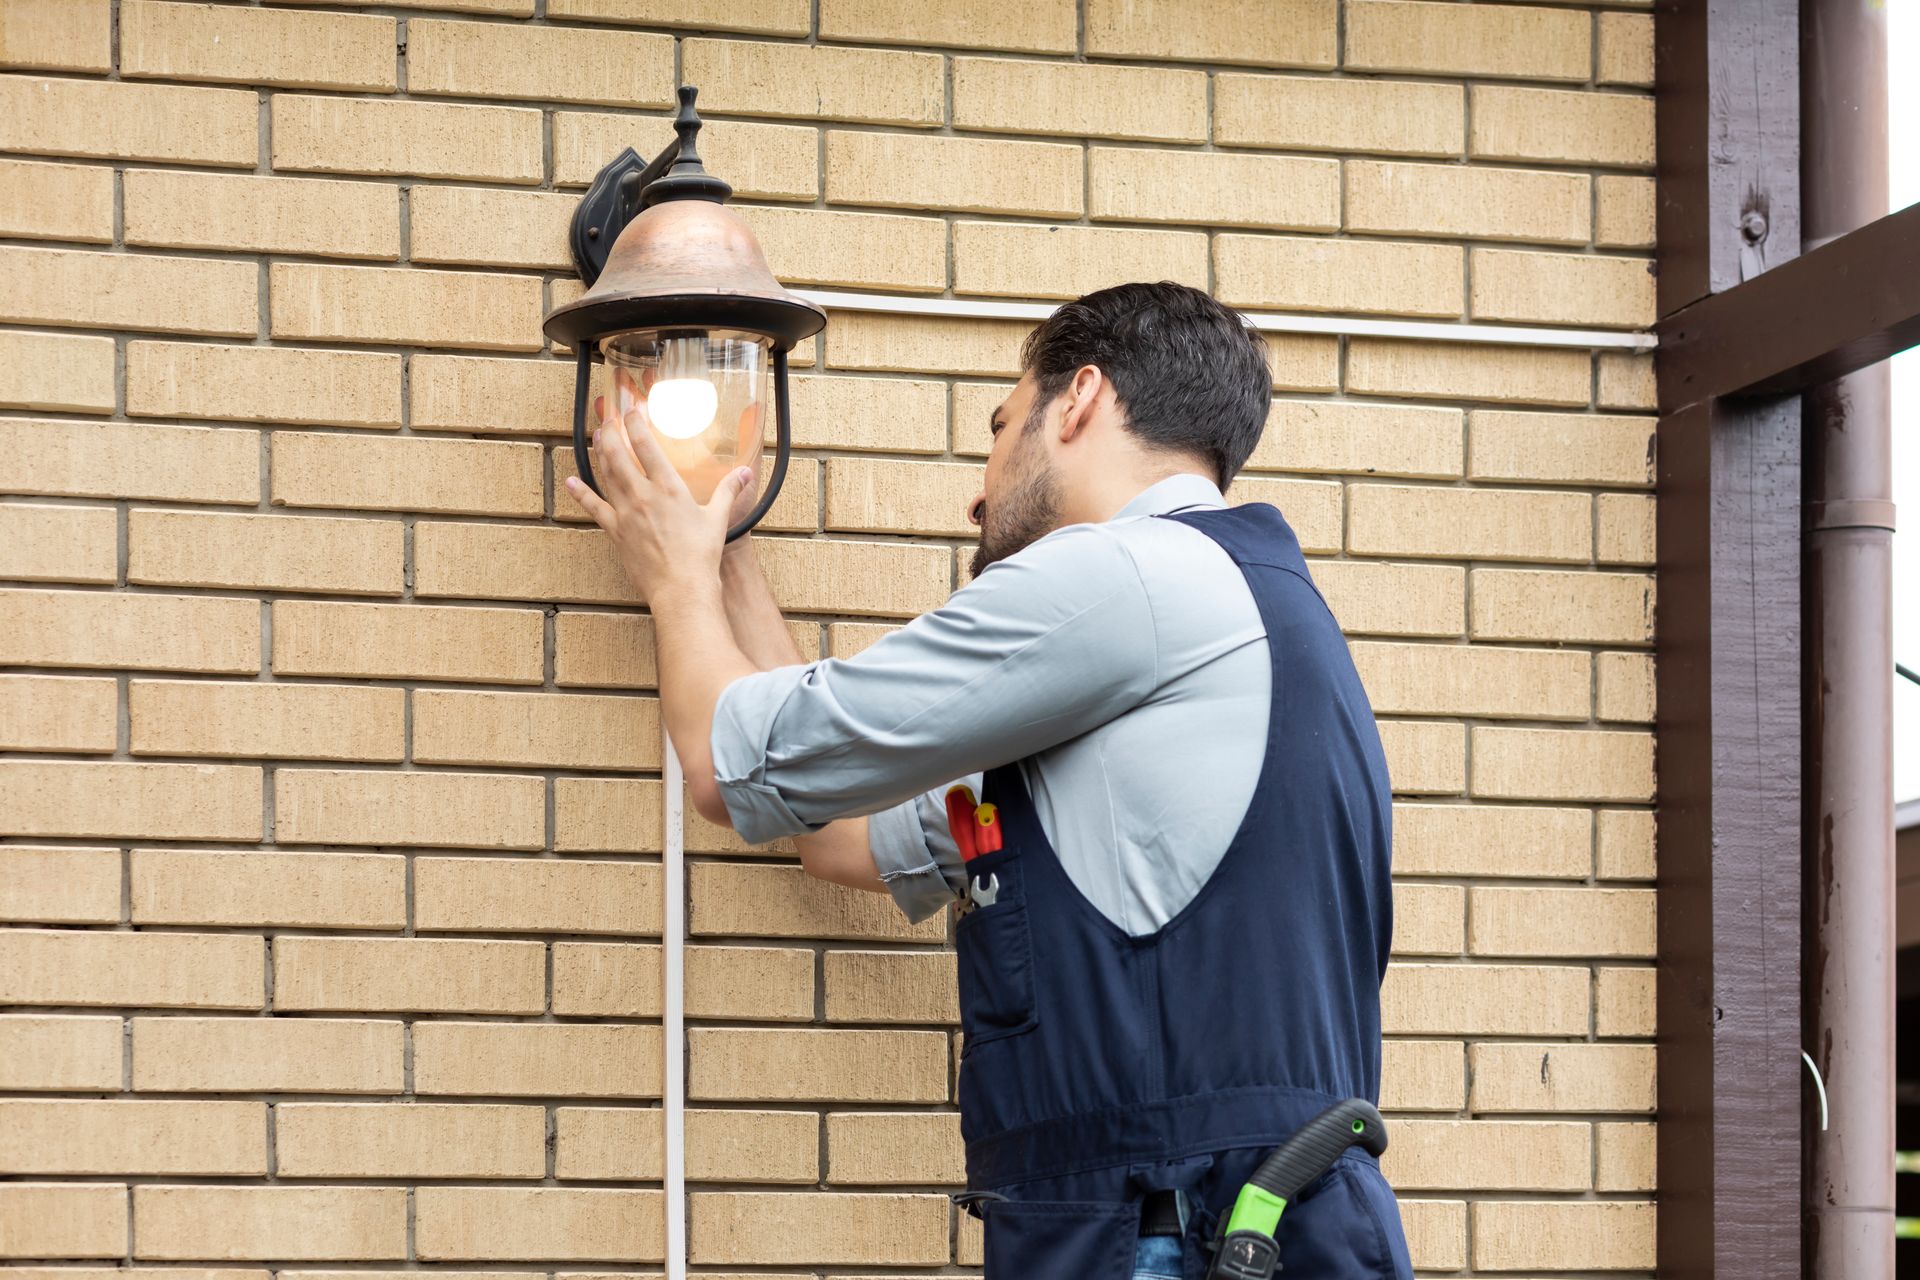
Turn Off the Power: Always turn off the power to the light before replacing the bulb. For added safety, it’s a good idea to switch off the breaker that controls the outdoor lighting.- Inspect the Bulb: Remove the bulb and check for any visible damage, such as broken glass or discoloration. If it looks damaged, replace it with a new one of the same type and wattage.
- Test the Light: After replacing the bulb, turn the power back on and check if the light works. If it does, then you’ve solved the problem. If not, you’ll need to continue troubleshooting.
Bulb replacement is one of the easiest fixes, but it’s always good to start here before moving on to more complicated issues.
2. Check the Outdoor Light Fixture and Wiring
If replacing the bulb didn’t work, the next step is to inspect the outdoor light fixture and wiring. Over time, the fixture or wiring can become damaged due to weather, wear, or improper installation. Here’s how to proceed:
Turn Off the Power: Again, ensure that the power is turned off before working on the fixture.- Inspect the Fixture: Check the outdoor light fixture for any visible signs of damage, like rust, cracks, or broken parts. If the fixture is damaged, it may need to be replaced or repaired.
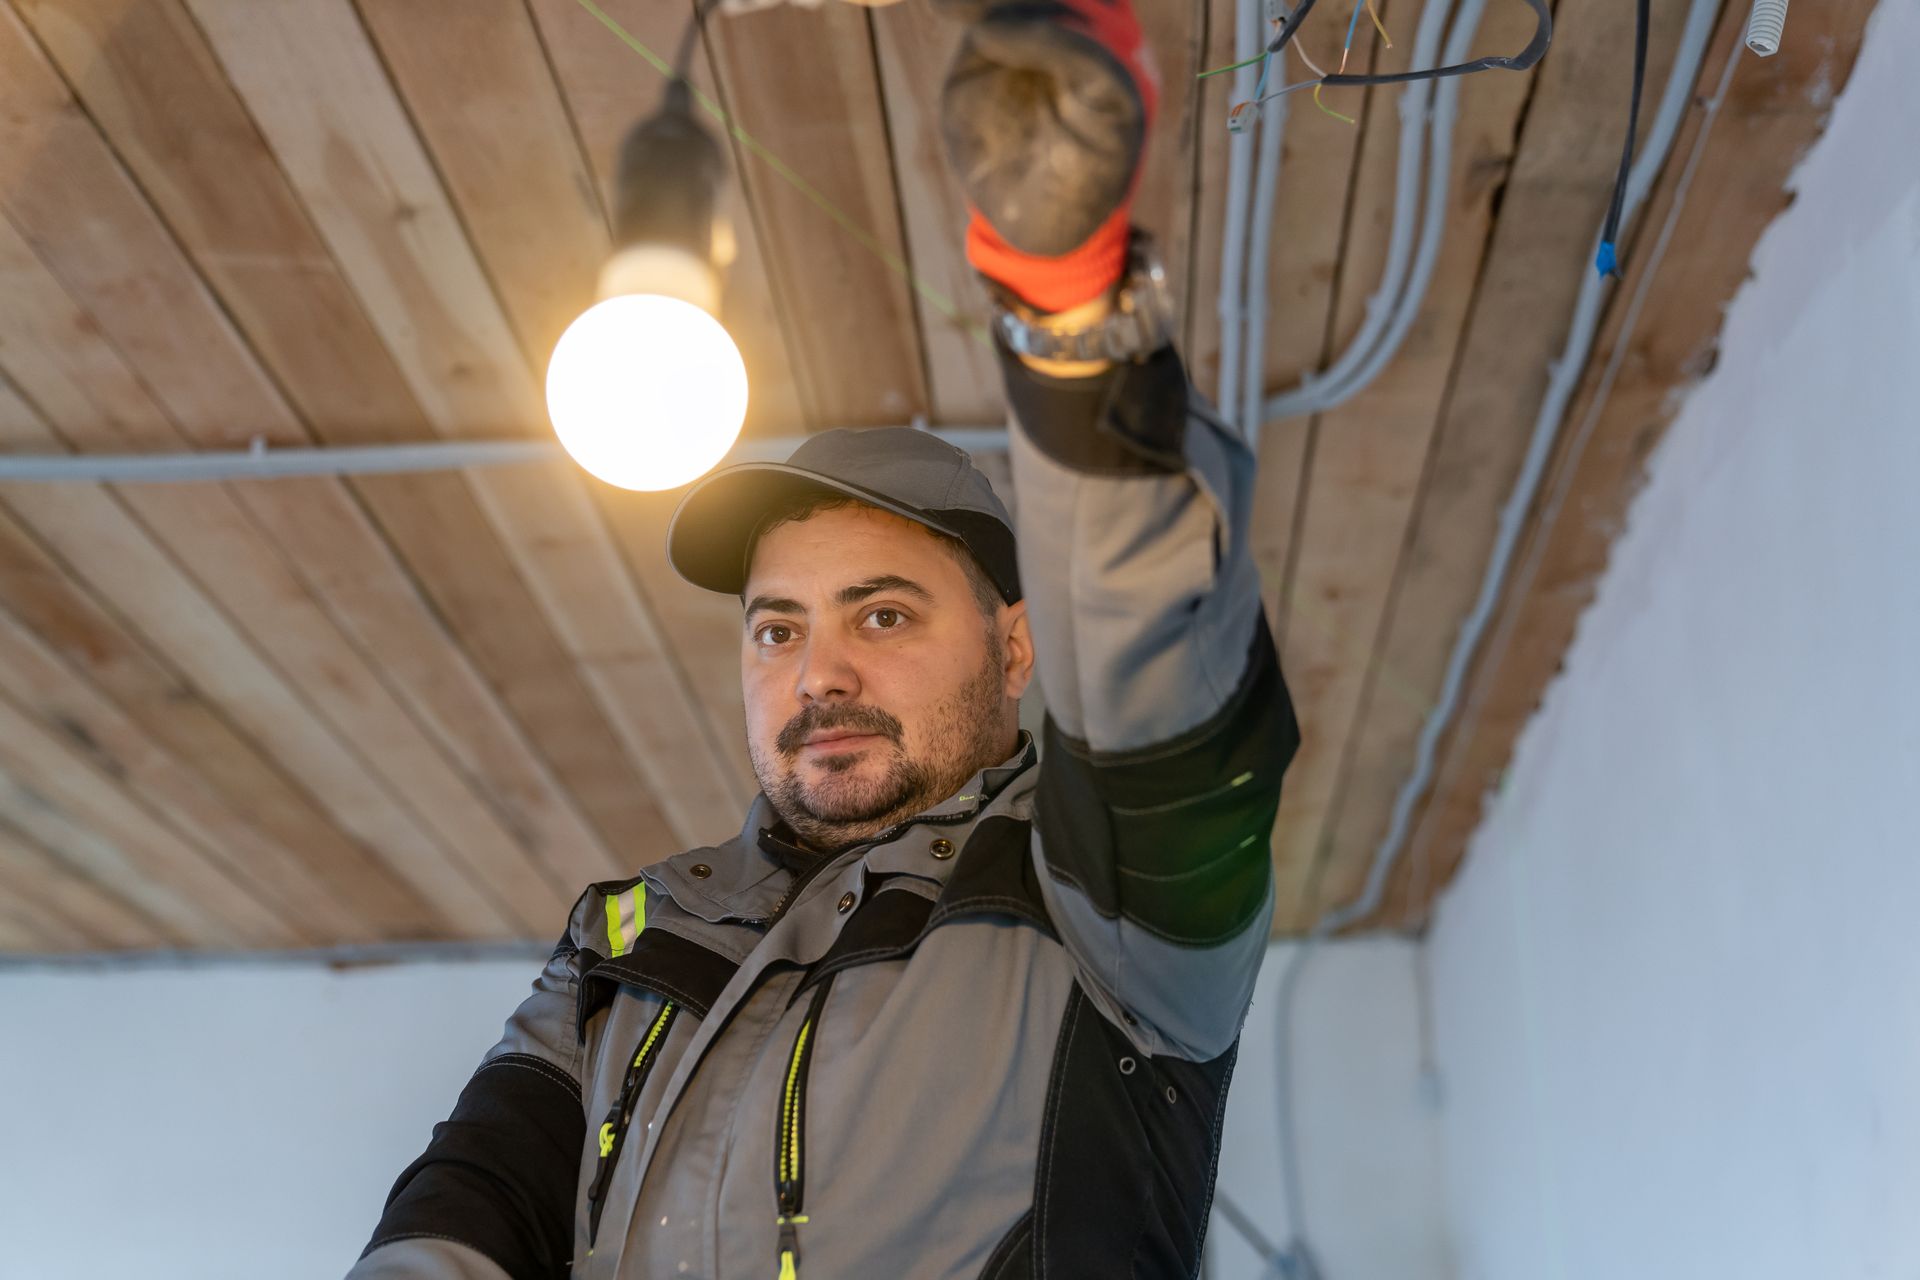
- Examine the Wiring: Check the wires connected to the fixture for any fraying, breaks, or loose connections. If you notice any issues, you’ll need to fix or replace the wires.
If the fixture or wiring is in bad shape, it’s important to
repair outdoor lights immediately to prevent further damage or potential safety hazards.
3. Test the Circuit Breaker and Fuse
Sometimes, the issue isn’t with the light fixture itself, but with the electrical supply. If the outdoor lights aren’t working at all, you should check the circuit breaker and fuse.
Check the Circuit Breaker: Go to your electrical panel and locate the breaker for the outdoor lights. If the breaker has tripped, simply reset it. If the breaker keeps tripping, there may be a larger electrical problem that requires professional attention.- Inspect the Fuse: If your outdoor lighting system uses fuses, check for any blown fuses. Replace them with a new fuse of the same rating.
If resetting the breaker or replacing the fuse doesn’t work, there could be an issue with the electrical wiring or a malfunctioning component, and you may need to call in a professional.
4. Inspect the Motion Sensors (If Applicable)
If your outdoor lights are equipped with motion sensors, these sensors could be the cause of the problem. Motion sensors are often used in outdoor lights for security purposes, and if they stop working, your lights won’t activate. Here’s what to check:
- Check the Sensor’s Position: Make sure the motion sensor isn’t blocked by anything, such as dirt, debris, or overgrown plants. Sometimes, the sensor can become misaligned and may need to be adjusted to detect motion properly.
- Clean the Sensor: Use a soft cloth to clean the sensor. Dirt or spider webs can block the sensor’s view and prevent it from functioning.
- Test the Sensor: Turn the power back on and test the sensor by walking in front of it to see if it activates the light. If it doesn’t, the sensor may need to be replaced.
Motion sensor issues are relatively easy to troubleshoot and fix, but if cleaning and adjusting don’t work, you may need to replace the sensor.
5. Check for Issues with Outdoor Light Switches
If your outdoor lights are controlled by a switch, the switch itself may be the culprit. Here’s what you should do:
Test the Switch: Turn the switch on and off several times to see if it’s working properly. If the switch feels loose, doesn’t click properly, or doesn’t turn the lights on, it may need to be replaced.- Inspect the Wiring: If the switch seems faulty, you’ll need to check the wiring behind it to ensure there are no loose connections or damage.
If the switch is faulty or damaged, you can easily replace it with a new one. However, if you’re not comfortable working with electrical components, it’s best to call a professional.
6. Hire a Professional for Complex Repairs
If you've tried all the troubleshooting steps above and your outdoor lights are still not working, it may be time to call in a professional. More complex issues, such as faulty wiring, malfunctioning transformers, or issues with the electrical panel, may require the expertise of an electrician.
A professional can diagnose and repair any deeper issues safely and efficiently, ensuring that your outdoor lighting is up and running without any risks.
Conclusion:
Repairing outdoor lights doesn’t have to be complicated. By following these simple steps, you can troubleshoot and fix most common outdoor lighting issues yourself. Whether it’s replacing a bulb, repairing a fixture, or checking the electrical supply, taking a hands-on approach can save you time and money. However, if you encounter more complex problems, don’t hesitate to seek help from a professional.
AkTrimlight is always here to help with expert advice and services for all your exterior lighting repair needs.


