
The Ultimate Checklist for Outdoor Lighting Maintenance
You have invested in beautiful outdoor lighting to enhance the curb appeal of your property, ensure safety, and prolong the enjoyment of your outside spaces long after the sun sets. Just like any other part of your property, your outdoor lighting system also needs some maintenance over time. At AKTrimlight, we believe that proactive outdoor lighting maintenance is the key to keeping the greatest appearance of your property for years to come.
So grab your gloves and maybe a reliable screwdriver; we have created the perfect checklist to enable you to maintain your outdoor lights brilliantly.
The Ultimate Checklist for Sparkling Outdoor Lighting Maintenance
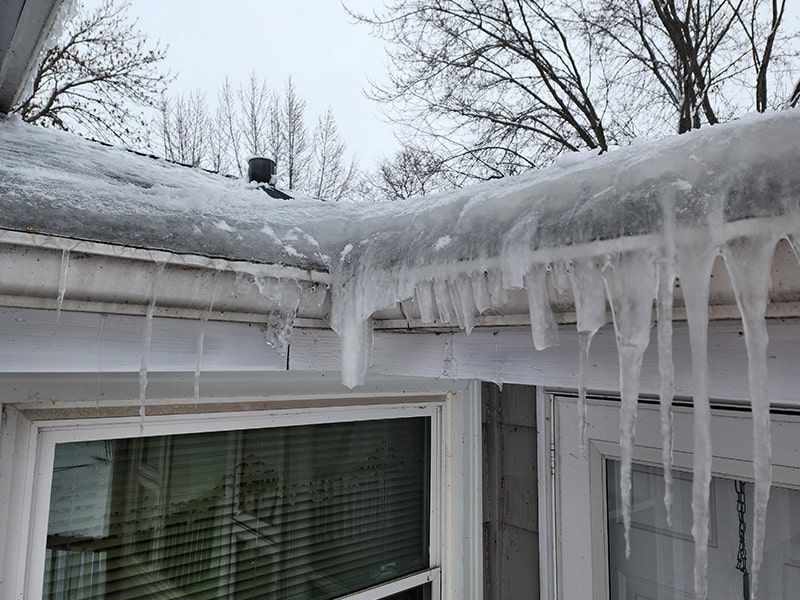
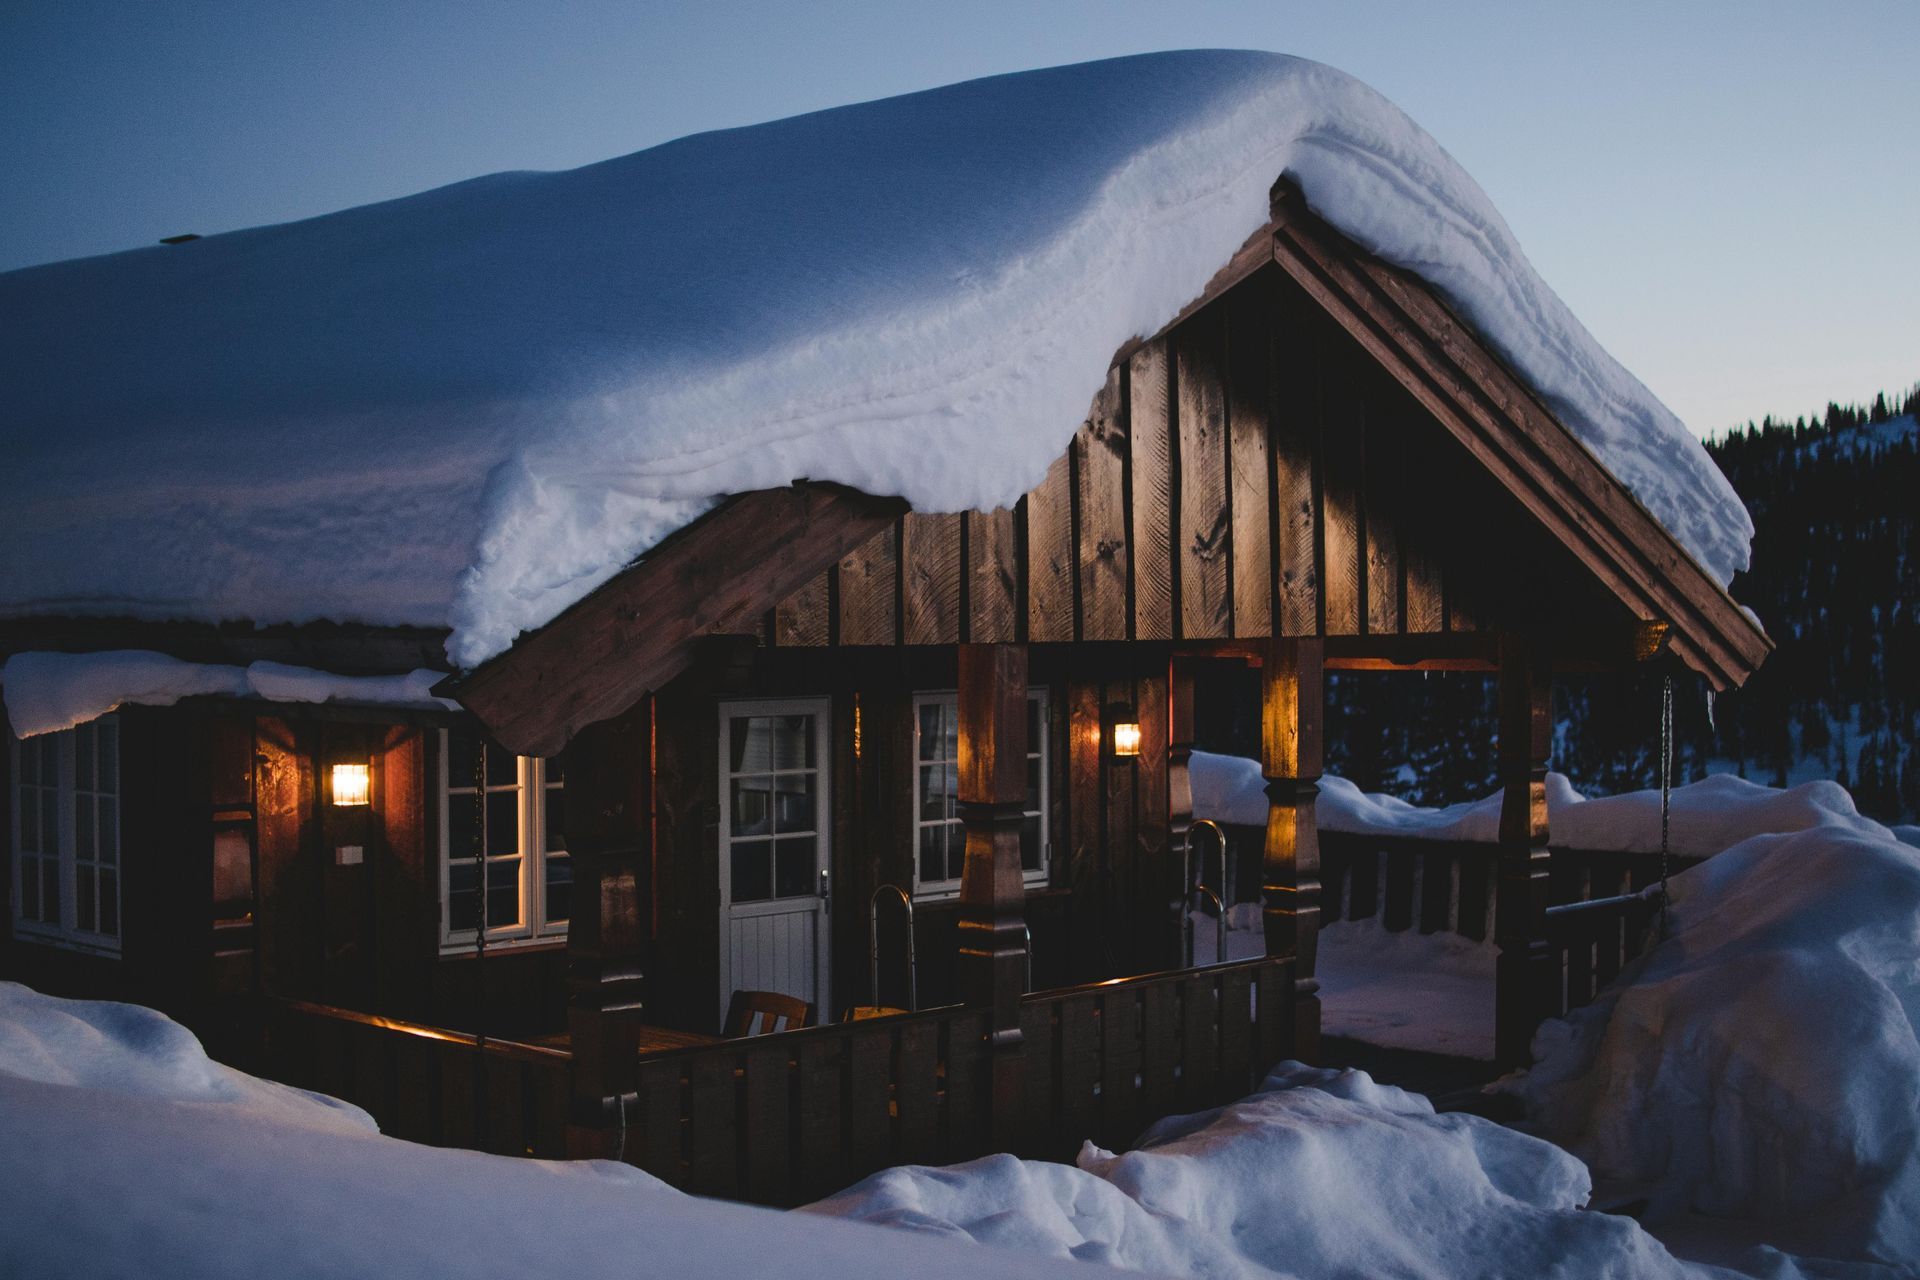
Consider your outdoor lighting system as a diligent workforce that withstands the daily Alaskan weather. From the midnight sun of summer to the cold ice grips of winter, they are always enhancing your property. Ignoring maintenance could cause flickering or dim lights. possible safety hazards, and later on, expensive repairs. This checklist will help you through the necessary steps to keep your system in perfect condition.
Your Seasonal Shine: A Step-by-Step Guide to Outdoor Lighting Maintenance
We recommend a comprehensive check of your outdoor lighting system at least twice a year, once in the spring to handle any winter wear and tear and once more in the fall to get ready for the colder months ahead. But a quick visual check every month or two can help find little problems before they become more serious.
Step 1: The Visual Inspection (Do this regularly.)
1. Walk the Perimeter
Walk around your house, paying particular attention to every light bulb. Are any lights dimmer than others? Are there any flickering or not working at all? Note down any particular issues you find.
2. Check for Physical Damage
Look for physical deterioration in every fixture, such as cracks, chips, or other signs. Alaskan weather can be harsh, and impacts from snow shovels, fallen branches, or even curious animals could show up.
3. Inspect Wiring (Visually)
Look for any frayed or exposed wires visually. Make sure cables are tightly tucked away and not lying on the ground where lawn equipment can trip over or harm them. If you see any exposed wires, do not touch them and seek advice from an expert. Safety comes first!
4. Evaluate the Fixture's Stability
To be sure each fixture is firmly installed and not loose, gently wiggle them. Loose fittings can be a safety threat and can also allow moisture to reach the electrical components.
5. Examine Connections
Where visible, look at the connections at the base of the fixtures and any junction boxes for signs of corrosion—a greenish or yellowish accumulation. Corrosion can stop electrical flow and lead to malfunction of lighting.
Step 2: The Practical Maintenance (Do this seasonally)
1. Power Down:
Always turn off the main breaker to your outdoor lighting system before beginning any hands-on repair. This is a crucial safety precaution!
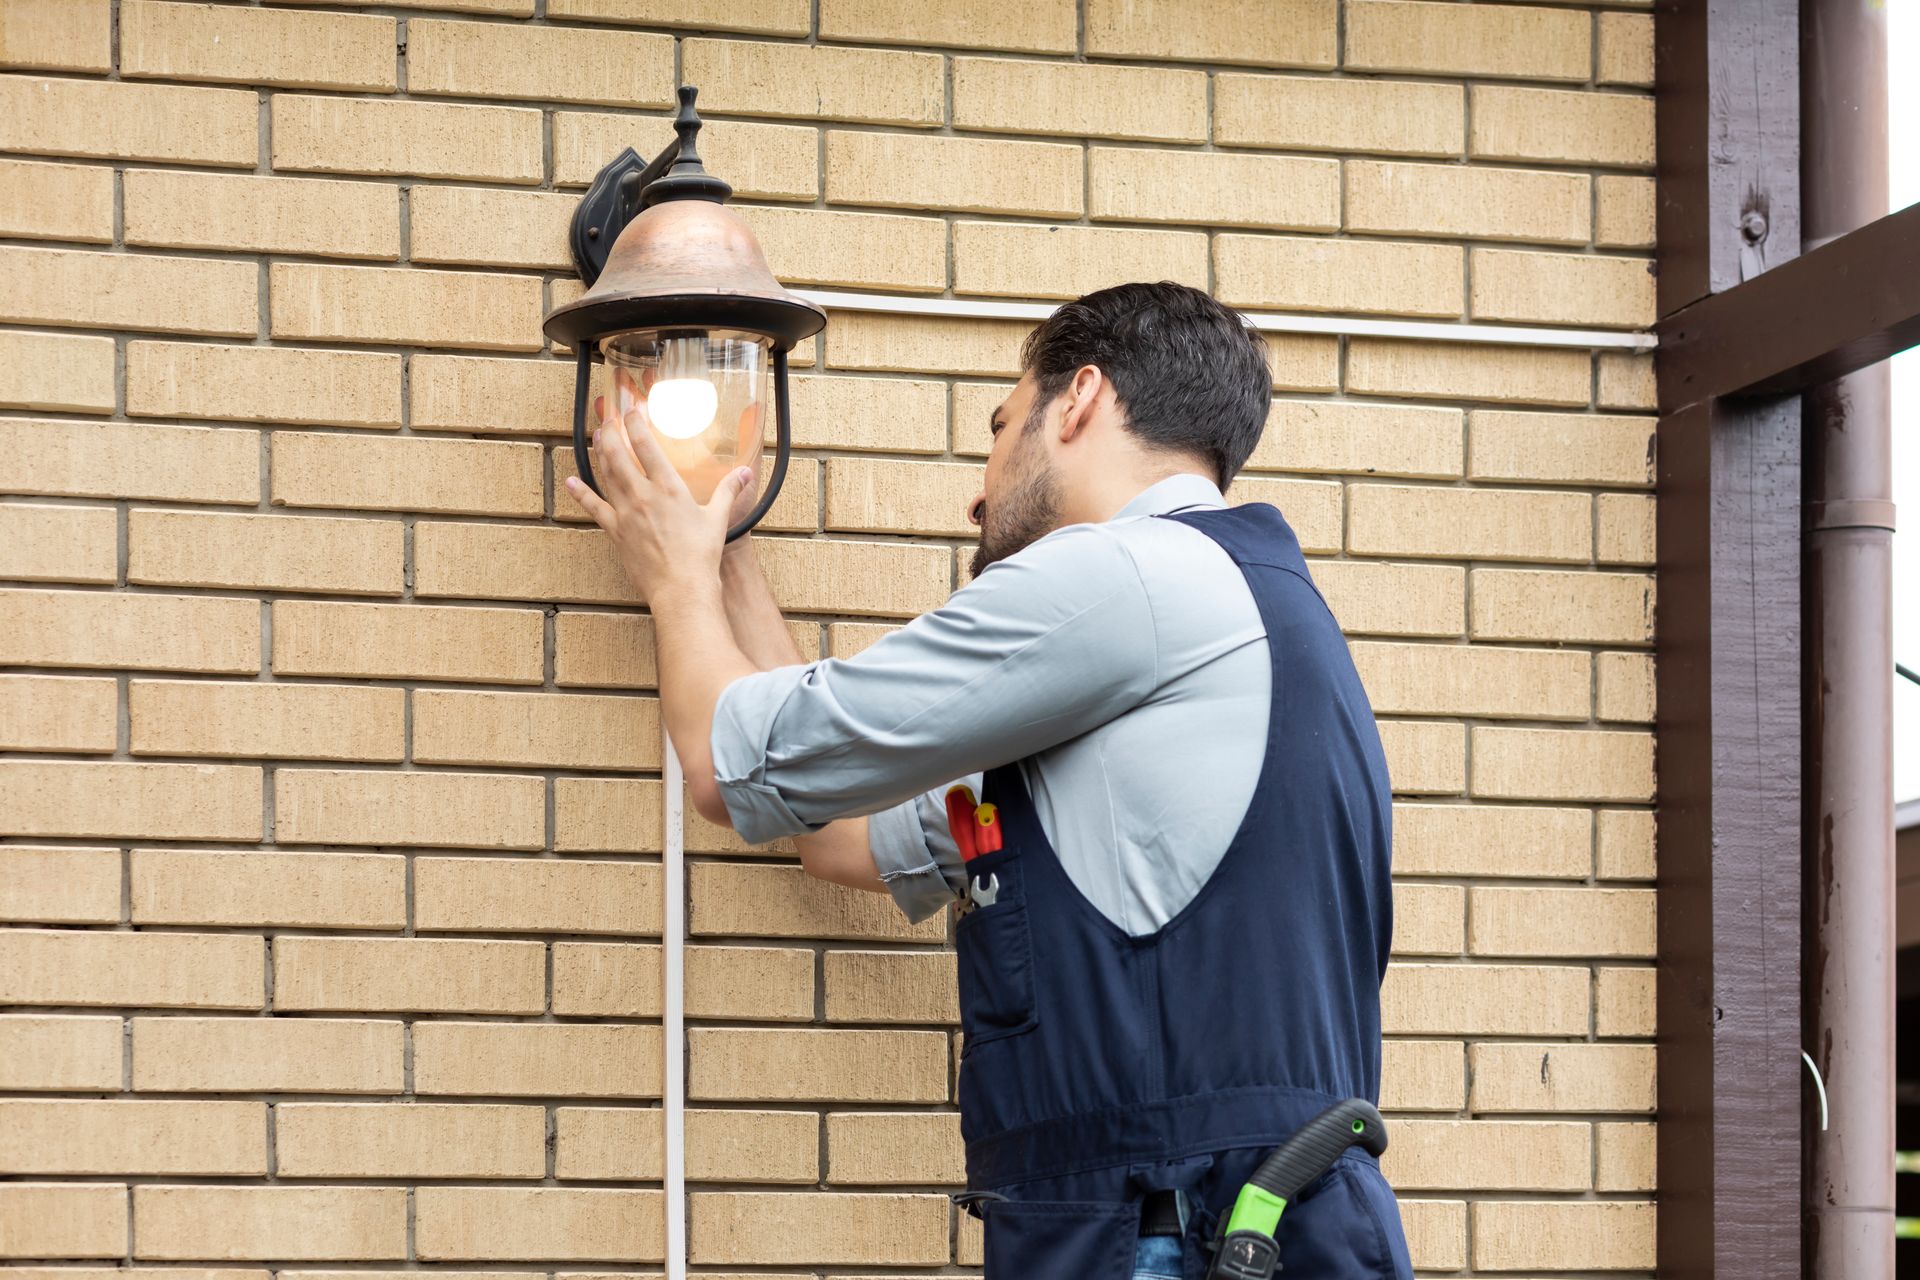
2. Clean the fixtures.
Dirt, dust, pollen, and even insect waste can build up on your light fittings over time, therefore lowering their brightness. Gently wipe the lenses and housings using a soft cloth or sponge moistened with light, soapy water. A soft brush could help with tough dirt. Rinse with fresh water, then completely dry. You could use a glass cleaner for glass lenses.
3. Bulb Check and Replacement:
If you have traditional bulbs, now is the right time to check each and every one of them. Look for signs of fading or burnout. Change any broken bulbs for the right kind and wattage advised for your fixture. If you have an older system, weigh the long-term advantages of switching to energy-efficient LED lighting.
4. Tighten Connections:
Any loose screws or connectors you found during your visual inspection should be gently tightened with a screwdriver. Be careful not to overtighten; this could break the fixture.
5. Address Corrosion:
If you see rust on connections, turn off the power and gently clean them with a wire brush or a specifically designed corrosion cleaner found in most hardware stores. Once clean, apply dielectric grease to help prevent future corrosion.
6. Trim Surrounding Vegetation:
Overgrown plants and shrubs can block light output and even strain wiring or fixtures. Cut any vegetation invading your lights. This not only enhances illumination but also helps in damage prevention.
7. Check Timers and Sensors:
If your system features motion sensors or timers, make sure they are programmed as per your preference and operate smoothly. Adjust settings as necessary, particularly with changing daylight hours throughout the year.
8. Inspect Ground Stakes (if applicable):
For path lights or other fixtures with ground stakes, make sure they are firmly planted and haven't been knocked over by frost heave or accidental bumps.
Step 3: Consider Upgrades for Improved Performance and Style
Maintenance of outdoor lighting goes beyond mere repairs; it also presents a chance to review improvements that can enhance the functionality, appearance, and efficiency of your system.
- Upgrade to LED
Changing to LED lighting is among the best improvements you can make if you haven't already. LEDs offer a broad spectrum of color temperatures and styles, have a far longer lifetime than conventional bulbs, and are far more energy-efficient. This update will cut the frequency of bulb replacements and save you money on your energy expenses.
- Install Smart Lighting Controls
Imagine being able to manage your outdoor lighting with your smartphone or voice assistant! Smart lighting systems enhance the ambiance of your outdoor spaces and add convenience by including scheduling, dimming, and even color customization.
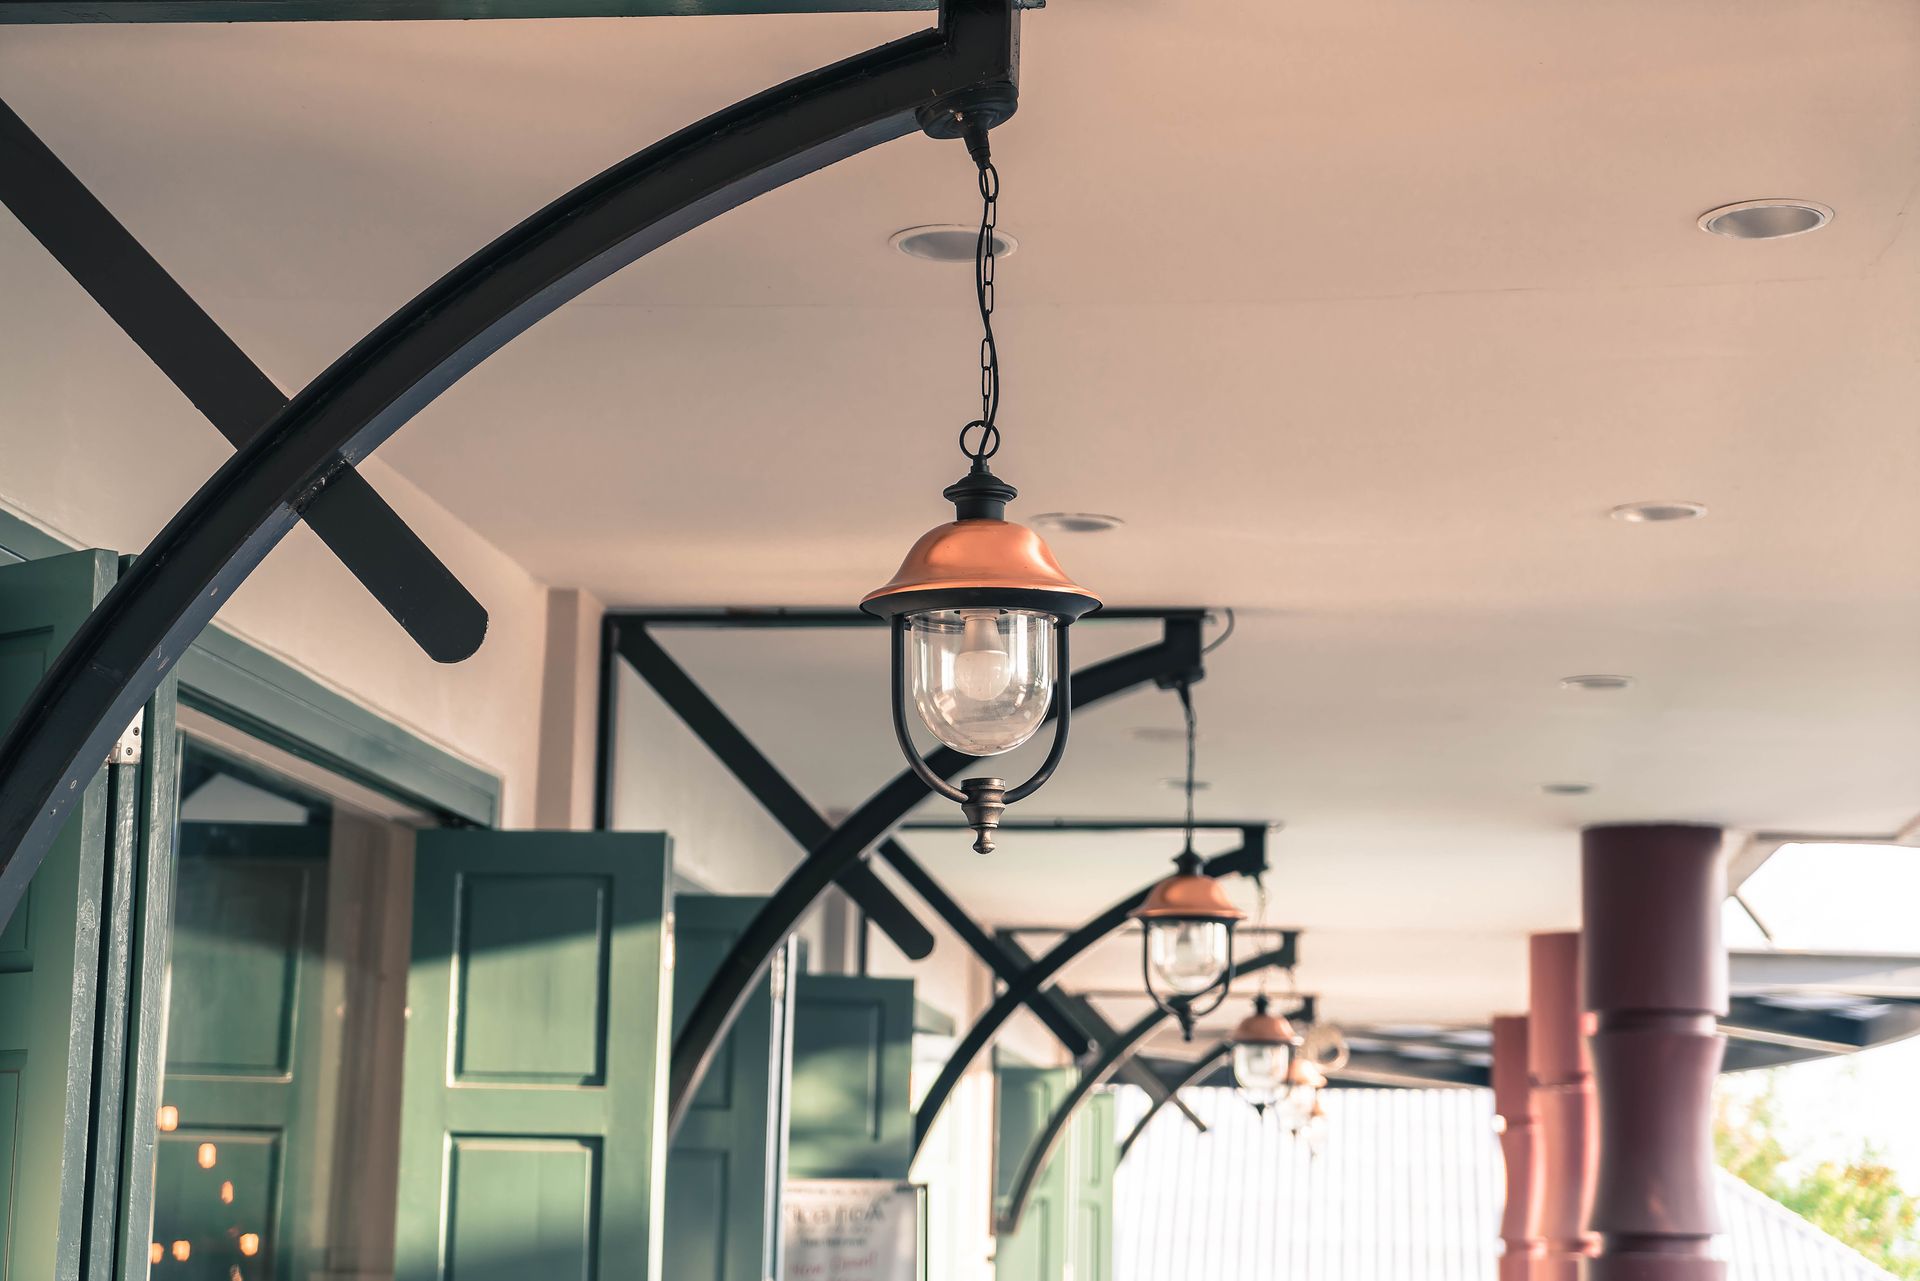
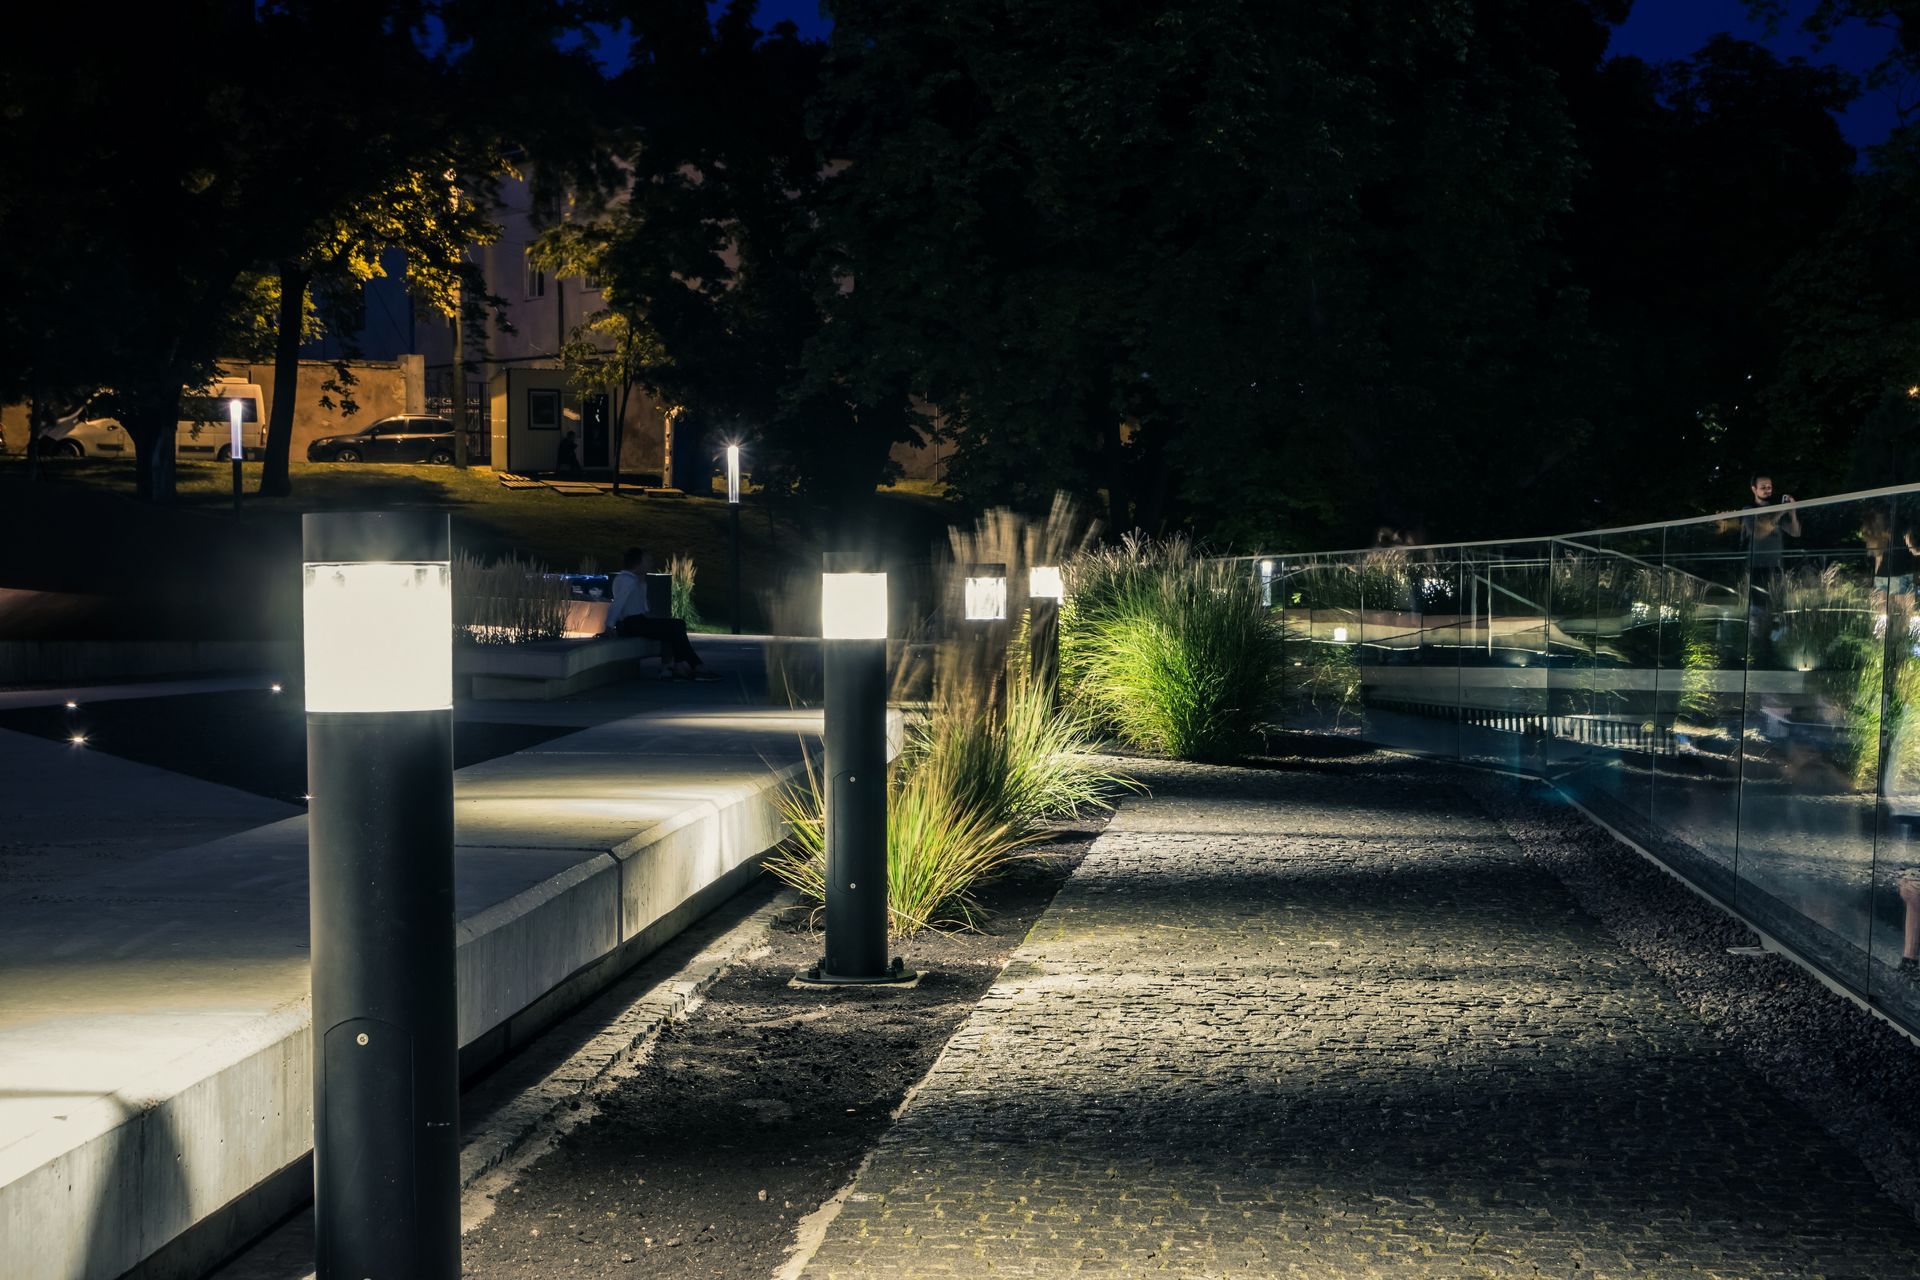
- Add Accent Lighting
Add accent lighting to draw attention to paths, landscapes, or architectural details. The nighttime curb appeal of your property will be much enhanced with well-placed accent lighting.
- Improve Security with Motion Sensors
Upgrade the security of your house by installing stand-alone motion sensor units or changing fixtures with built-in motion sensors. These can discourage unwelcome guests and offer extra protection when you're arriving home in the dark.
When to Call the Professionals at AK Trimlight:
Although homeowners can manage many outdoor lighting maintenance chores, there are some situations when it's advisable to contact professionals like AK Trimlight:
- Any Electrical Problems: Do not try to solve any odd electrical activity, frequent tripped breakers, or suspected wiring problems yourself. Only trained experts should handle electrical work since it might be hazardous.
- Complex Repairs: If you have noticed a broken fixture that requires more than just a standard bulb replacement, it is usually more affordable and safer to have it fixed or replaced by a professional.
- System Upgrades or additions: Installing new lighting fixtures or upgrading your system usually requires electrical wiring and should be done by qualified experts to guarantee safety and proper functioning.
- Troubleshooting Persistent difficulties: If you have followed the maintenance checklist and still have difficulties with your outdoor lights, our staff has the knowledge and skills to identify and fix even the most difficult issues.
Following this ultimate checklist and understanding when to rely on the experts like
AKTrimlight, can help you make sure your outdoor lighting system keeps improving the beauty, safety, and enjoyment of your Alaskan house for years to come. Regular outdoor lighting maintenance is an investment in peace of mind and a beautifully lit property.